
Picking Your Seeds

Your choice of genetics will have the greatest influence on the outcome of your grow. Cannabis seeds should be selected for preference rather than objective quality. Everyone has their own desires from each grow.
When selecting which pack to buy, ask yourself the following questions:
Do you want feminized seeds or regular?
Regular seeds contain male plants, which aren't smokeable, but can be used for pollinating female plants and creating one's own hybrids.
Feminized seeds give growers with limited space more plants to run through, which is a massive benefit in pheno hunts where the goal is to look through as many plants as possible and select the best one.
Is Flowering Time Important To You?
Different strains and even different seeds from within the same strain have their own unique flowering times. The more stable the expressions, the more likely it is that you'll get a similar flowering time from different seeds within the same pack.
For some, a fast flowering time is essential as it also allows for more plants to get looked through over time. Inversely, fast flowering strains are more often associated with modern poly-hybrids with Cookie-dominant phenotypes.
However, when one opts for fast flowering strains you're sacrificing a lot of unique potential, with longer flowering strains often containing unique compounds not found in fast-flowering varieties. Looking for something special? Don't be shy to run some longer flowering varieties which most growers neglect.
Picking A Breeder
Every breeder creates seeds that align with what they tend to enjoy working with - meaning the best thing to do as a buyer is find breeders who breed for the things you want.
Look at the type of work each breeder is doing to find what aligns with what you love smoking and growing.|
Gas fan? Look for breeders working with OG Kush, Chem, Sour Diesel or Glue types.
Looking to grow Instagram-centric flowers that look dark, frosty and dense? Maybe a cookies lineage is best suited to what you're looking for?
Looking to avoid a heavy stone and keep things cerebral? Consider African landrace work or Haze types, etc.
Seed Storage
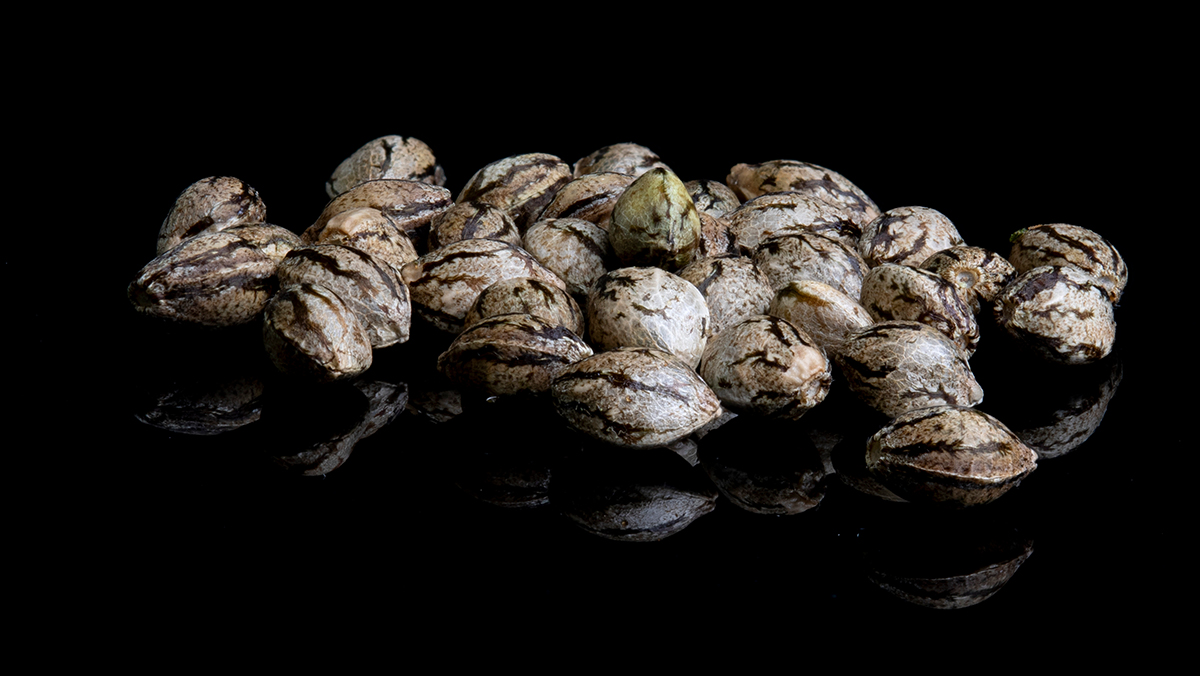
Cannabis seeds are living organisms and don't last forever. With proper storage techniques, you can significantly increase the length of time you can store your seeds.
Don't assume they'll last, instead develop a strategy for long term storage, especially if you plan to keep them for longer than a year or two before germinating.
Short Term Storage
Short term storage (under 1 year) won't cost you anything, simply store them inside of a container in a dark, cool cupboard and they should be good to go.
Long Term Storage
Long term storage is a different beast, and I strongly recommend investing some money into storing your beans properly.
I significantly improved my germination rates by implementing the following strategy for long term storage:
- Place packs inside of a ziplock with some uncooked rice in just of any moisture infiltration.
- Use a heat-sealing device to seal the ziplocks inside an additional layer of protection. These machines cost only a few hundred rands.
- Place seeds inside of a fridge. A dedicated fridge that is rarely opened is a better choice, but even your home fridge will give you a longer storage solution than chucking them in the cupboard.
The main goals with seed storage is to avoid excess heat, direct light exposure or moisture.
Germination
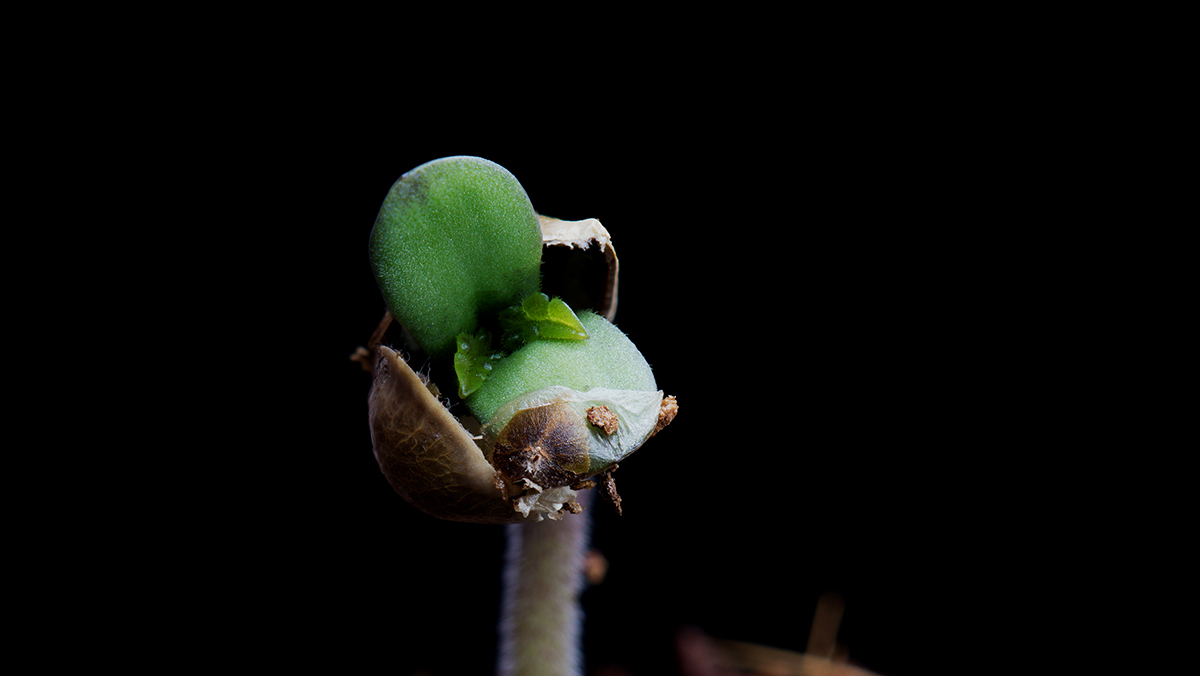
We strive to ensure high germination rates across our stock, but the process and environment matters a lot.
Over the years I've worked with genetics, I've seen a few common scenarios play out, where simple mistakes caused germination to fail.
Don't wait until it's too late before ensuring your environment and process for germination are solid.
This is a simplified germination process that will maximize your success rates:
- Use a reliable, clean water source (we recommend Woolworth's Still Spring water, laanie, I know).
- Buy some containers or cups for the process. Don't use whatever you have lying around. Polystyrene is a good, cheap choice.
- Pour 50-100ml of water into the cup or container. If the seeds are older, you can consider a light 1% H2O2 wash for 5 to 10 minutes before step 4, but the less variables, the better.
- Place the seeds into the water with minimal direct contact or disturbance. It isn't typically a problem, but again - the goal here is to reduce variables.
- The seeds should now be floating on the water's surface. Place the cup or container (no lid, we want oxygen) in a dark and sterile space, ideally in temperatures between 20'C and 25'C.
- Now it's time to pick which method you'd like to try. I am always hesitant to recommend one specific way, because each have their own risks. Paper towels do a good job, but are also easy to over or under water and can mold quite easily if there is not enough oxygen. The other method, which I have been using lately is a float tech method where you leave the seeds to sit on the water's surface until they root.
- If you choose to use paper towel, take 2 squares and fold them over twice to create a thicker medium and soak them in the water of your choice. Using clean hands (not soapy either), give it a squeeze to remove most of the moisture. We just want a lightly moist paper towel, not a soaking one. Open up the folded paper towel, place your seeds on it and then fold it back over so the seeds are covered. Now place that into mostly sealed ziplock bag to retain humidity. Let them sit for 24 hours and then check for progress every 12 to 24 hours. Don't open it more than you need to, spores are the enemy in this stage. You've essentially created a petri dish.
- If you opted for float tech, the process is simpler. Just leave the cup with the seeds floating, in a dark, temperate area for a few days. They will typically start to germination on the water's surface and then sink as they absorb the water.
Download our in-depth germination guide below, it will serve as a useful reference point, especially for newer growers.
Seedling Stage

Light Cycle: Anything over 16 hours of direct light a day.
PPFD: 250-350 PPFD
The seedling stage is a sensitive one, plants are easily over and underfed or watered. Finding the right balance in watering practices is the key goal for this period.
In soil, less is often more - but if growing in an unamended medium like a coco-coir, you'll want to start feeding with a low rate of nutrient by day 5 to 7 and then slowly increase feeds as the plant growers, adopting a standard veg feed by week week 2.
Balancing The Watering Practice In The Seedling Stage
- In small pots (< 500ml) water with 20% of the pot volume (eg: 200ml into a 1L pot).
- In larger pots, seedlings should be watered without saturating the full pot unless in an aerated coco. Watering in a radius around the seedling is a good approach, but always ensuring the roots are in an area of moisture.
- A common side effect of trying not to over water is to underwater seedlings. Er on the side of caution for the first 5 to 7 days, then increase volume a bit. It's common for growers to underwater and then cause the top of the soil to look moist, while the base where the roots have pushed is dried out. Be attentive to this.
In the seedling stage, plants need enough light to prevent stretching, while also not cooking them under high intensity. Using a mobile phone app like PPFD Meter (Android) or Photone (iOS) measure the amount of light at your plant's height. Aim for 250-350 PPFD for the first 10 days or so, after which the plants will enter the vegetative phase.
Vegetative Growth

Light Cycle: 18 Hours on, 6 Hours off
PPFD: 300-500 PPFD
This is where cannabis plants go from being sensitive to being explosive. Growth ramps up exponentially in the vegetative phase as new leaves absorb additional light and drive new growth.
In the vegetative stage, the focus swings from keeping your plant alive to ensuring it thrives. Feeding becomes easier as one can adopt a basic feeding schedule, and watering also becomes less of a problem. The plants can handle less than idea watering practices, but you should still aim to do your best, as every bit of lost energy is lost flower potential in the coming weeks or months.
Here are 3 quick tips to ensuring your veg phase is one that sets the stage for a fruitful harvest:
Start Training
By topping or training your plants, you can often achieve better yields with higher quality flower. That's because the goal of training is usually to create an even canopy that receives the same amount of light, reducing the quality variation between tops and bottoms.
Begin Implementing IPMs
Integrated pest management is one of those things most growers don't enjoy doing, but is required regardless.
You shouldn't wait until you see pests before you start your IPMs. Instead, the goal is to create a routine where you protect your plants ahead of time.
Spinosad is a great tool for Thrips and Fungus Gnats, while BioSulfur is a top choice for powdery mildew prevention and of general pests, including mites.
My own IPMs revolve around primarily Sulfur sprays and Spinosad in Spring for Thrips. But these should only be sprayed in the vegetative phase.
Take Clones
What's the point in hunting for amazing phenotypes when you're flowering it out once and that's it? The vegetative phase is a great time for taking clones and backing up your genetics before going into flower. If you're not yet cloning, I strongly recommend it.
The Flowering Phase

Light Cycle: 12 Hours on, 12 Hours off
PPFD: 600-1200 PPFD
This is where the real magic happens. Most growers feel like they finally start to see the true expressions of their plants once the flowering phase begins.
During flower, there is a significant shift in what the plant wants to eat. Instead of the plant requiring lots of nitrogen, it shifts its demand towards Phosphorous and Potassium, which are used to build flowers.
Too much nitrogen in the flowering phase can dramatically reduce the quality of flower, but the flowering phase is dynamic and requires different adjustments depending on where in the cycle you are, and even the type of strain you're growing.
For most modern hybrids, the flowering phase lasts 55 to 75 days, with some longer-flowering varieties also on the market. However, when one grows narrow leafed types like Hazes and some landrace-types, the flowering process can be significantly longer.
Here's how I approach the flowering phase:
The Transition (Week 1)
After changing the light cycle from the vegetative to flowering schedule the plants will start to produce the first signs of flower. Females will begin to show stigma growth while males will begin to form pollen sacks. Males typically show sex a bit quicker than females from seed.
It's at this point the feed changes to a more flower focused one. Some growers will retain higher nitrogen in the first week or two, while others swap over directly to a flowering feed, which can reduce stretch and cause faster finishing.
The Stretch (Week 2 and Week 3)
During weeks 2 and 3, the plants are now producing more stigma growth and begin to form the first bracts that make up the flower.
During this period, plants start to demand far less nitrogen and often even show unwanted symptoms of the nitrogen remains too high during this transition phase.
The Bulking Phase (Week 4 to Week 6)
In the bulking phase, the plant is now using smaller amounts of nitrogen and demanding peaks of P and K. Not having enough Phosphorous or Potassium during this period can result in lower quality flower or airy bud. But at the same time, more isn't always the answer. You're going to want to respond to the signals your plant is showing you.
If you have a PK booster in your feeding plans, this is the time to use it.
It's during this phase that the plants really begin to pack on the aromas we love experiencing when we walk in our rooms.
Ripening (Week 7 to Week 8)
After the peak period in weeks 4, 5 and 6 - I recommend dialing any boosters back and just focusing on your core flower feed regime.
In weeks 7 and 8 your plant is getting ready to finish, and some may even be finished during this period, in which case, you want to anticipate that and begin the f'lush' a little earlier.
Finishing (Last Week or Two)
Often called the flushing phase, the last week or two of growth is where I remove my feeds and give water only.
This is a debated topic, but I've always had better results doing it and swear by it myself. Assuming all the other parameters are correct, this period is useful for reducing nitrogen concentration within the plant matter.
I don't know about you, but I am not a fan of smoking on any more nitrogen in flowers than I need to, it's often got a chlorophyl taste that's a bit harsh.
Drying & Curing
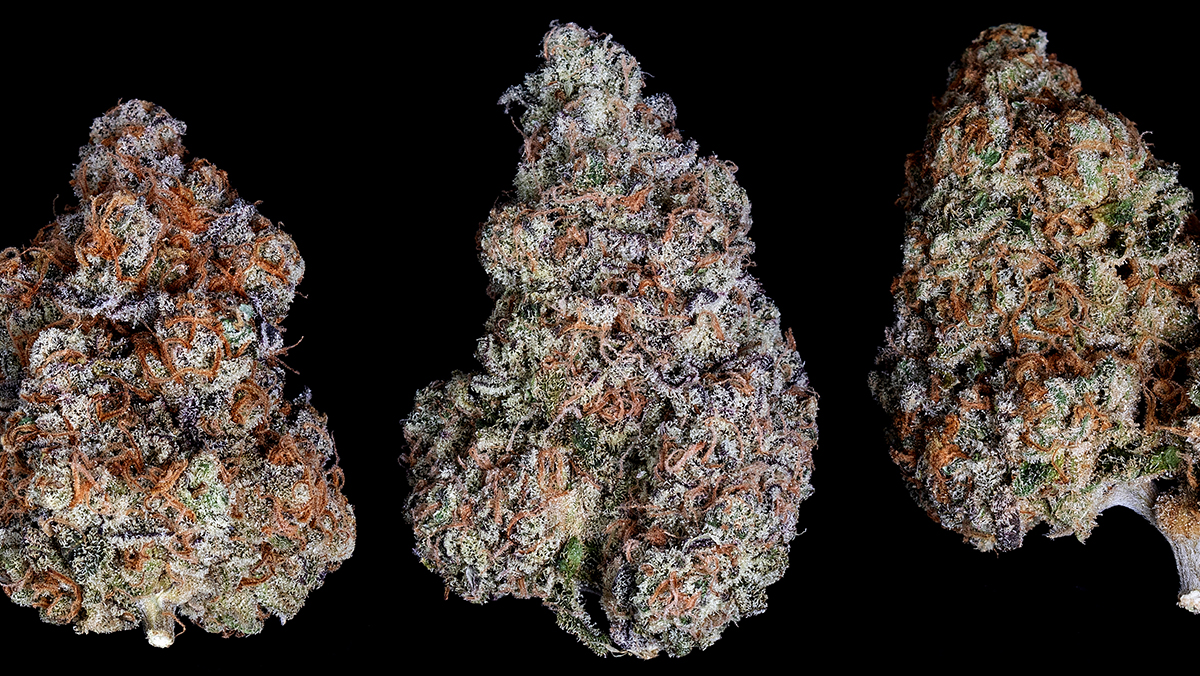
Drying and curing is often seen as an after-thought, but the truth is this is where you make or break the quality of your herb.
Over the last several years I've developed my standard drying and curing process, which has significantly improved results:
- Harvest the full plant (or large branches) to avoid uneven drying patterns and increasing drying time.
- Attempt to keeps temperatures below 25'C. 15'C to 20'C is ideal, but anything over 25'C tends to cause faster drying and degradation of volatile compounds, including terpenes which affect aroma and flavour.
- Place the plant in a completely dark area. NO LIGHT. For the entire drying period. Even small amounts of light will cause certain compounds to change and potentially degrade.
- Once you think the plant is dried, check how the branches or petioles respond. If they still have a lot of moisture and bend rather than snap, you can give it a little more time. Just don't wait too long, as things can seemingly change dramatically overnight.
- Once trimmed, I leave the flowers in a large bucket overnight (25L) before moving them into a smaller glass jar.
- Once trimmed and placed into the jar, I'll open the jar for 5 minutes or so once a day. If you notice the nugs still aren't fully dry, you can increase the duration of your 'burps'. The process of jarring them, brings moisture from the inside out. So it's your job to ensure that process doesn't cause too much moisture to stay trapped in the jar.
- Place the jar in a dark, cool place for long term storage.