
A Guide To Germinating Old Cannabis Seeds

If you’re like me, you spent a lot of time collecting random bag seeds or old crosses. But getting through them all is another story. Last year I tried germinating over a dozen packs of very expensive old seeds and had very little success. Since then, I’ve been trying a whole bunch of different methods and I finally have an approach that reliably works, that I want to share with you in the hopes that it may help preserve some old beans. Leave a comment letting me know what you popped and your experience trying this approach.
Please Note: This shouldn’t be a first choice. It’s a method that poses some root damage risks. But if you’ve tried the simple stuff, give this a go on a small batch of your older seeds first. The main problem is root exposure to H2O2, so check your seeds regularly and move them into pure water at the first sight of a tap root.
Table of Contents
Gauging The Likelihood of Success
Before I get into the steps I take to improve my germination rates, I think it’s important to highlight what kind of germination rates one can realistically expect, depending on the age of the seeds and how they were stored. I’ve created a tool below that you can use to gauge the current viability of your seeds, depending on how you stored them.
Viability Calculator
Likely range Typical
Estimates only. Actual germination depends on seed quality, moisture content and temperature swings. A germination test on 10–20 seeds is the best way to check a batch.
Obviously, every strain and seed is different and some are a lot hardier than others. But this graph is representative of the aggregate, and is safe to use for a base understanding. Now let’s look at how to take this information forward into practice to get better germ rates.
H2O2 (Hydrogen Peroxide) is Strongly Recommended
Hydrogen peroxide is an amazing tool. Despite being a simple compound of 2 parts Hydrogen to 2 parts Oxygen, it’s got a lot of purposes in cultivation from sterilization to in this case, germination. Its role in germination, much like itself, is made of two parts:
People use H2O2 differently in their germination. Some give seeds a short 3% wash to sterilize them, while others prefer a longer stint of 1% solution. I personally prefer the longer soak in 1% (tapered to 0.5% then to pure water over days – I’ll cover that more later).
To figure out how much you need to dilute your Hydrogen Peroxide, you can use the tool below. It will ensure you end up with the right H2O2 to water ratio, very important to prevent damaging your seed, while still being effective.
Use A Reliable Water Source
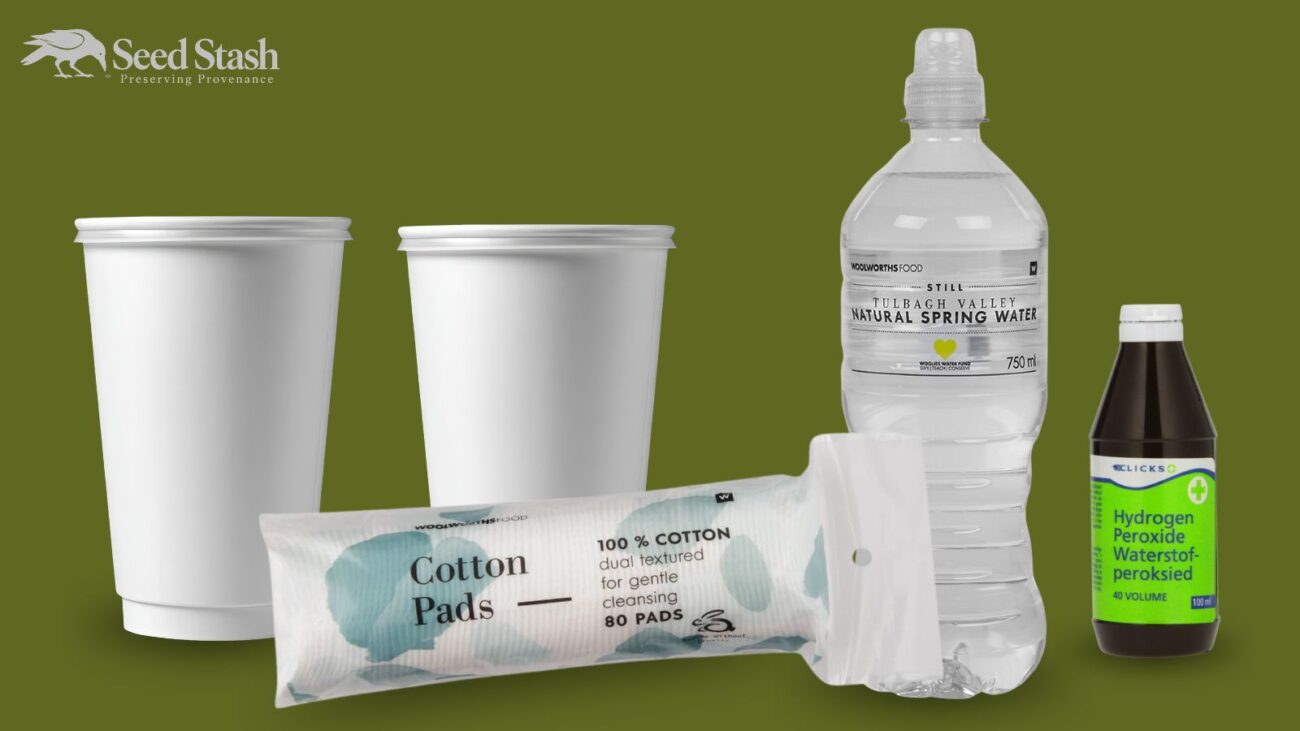
Not all water is equal. Using tap water is an unncessary risk. I strongly recommend starting with a high quality spring water. I use Woolworths Still Spring Water and strongly recommend it for those of you in South Africa. It’s a little high in pH, but don’t worry about that.
Keep Things Clean
We’re dealing with old, fragile and vulnerable seeds. Let’s not screw things up because we couldn’t be arsed.
Wear gloves when directly handling the seeds. If you’re using tweezers, give them a quick isopropyl rinse and drying before using them.
Have multiple sterile containers available for the process, 3 polystyrene cups is an easy, affordable option that works great. Just don’t grab any old jar from the kitchen. Make sure it’s unused.
Throughout the cycle, keep things as clean as possible.
Recycle Your H2O2 Regularly
Over time H2O2 mixes become less oxygenated and will also cause mold problems. So make sure to change your H2O2 solution with a fresh batch of the same strength, especially for the first 3 days. After day 4, I tend to drop the mix down to 0.5% H2O2.
Move Seeds To Spring Water After They Crack
A 1% H2O2 is great for the initial germination process, but prolonged exposure to the root can cause some problems. As soon as you see the tap root, move the seed out of the H2O2 mix and into a separate cup of pure still water. The main job, of getting the seed to crack has already been accomplished – they will continue to root in the still water.
If exposed to too much oxygen, the root can die. You may see the tips of the taproot start to turn pink. Don’t give up on them, you may not get a thriving tap root, but often it’s enough to generate lateral branching that keeps the strain alive until you can take clones and have a more healthy plant.
I realize this goes against the popular narrative of drowning seeds. But they can easily manage 48 hours, whereafter they should be developed enough to move to the second to last stage – the cotton pads.
Finish The Process Between Cotton pads
For the last stint, I move the seeds out of the still water (tails now around 1-2cm) and place a few between two cotton pads. Paper towels are an option here, but to be honest, I’ve been seeing significantly more issues using paper towel than cotton pads.
I saturate one cotton pad and then using gloves, press the second pad against it to absorb the moisture. Then place the seeds between them and close them.
Then it goes into the standard zip-lock bag method, in a dark cupboard.
Here’s an important caveat though. In my testing, I’ve found older seeds can be very sensitive to when first transplanted into their final medium. In fact, I noticed that seeds I forgot about inside of their cotton pads germinated more successfully than those moved early to coco. So you can consider splitting half between each approach.
Germination Isn’t The End – Old Seeds Are Vulnerable
Don’t get too excited when you see a root, a successful crack is just step one of what can be quite a challenge, depending on the age.
Even getting your seed to sprout above ground shouldn’t be mistaken complete success. A common problem I’ve encountered when germinating old seeds is where the seed emerges perfectly fine, but only the cotelydons develop. The shoot apical meristem doesn’t grow, meaning the plant is never able to produce functional fanleaves and typically remains stunted until it succumbs to its environment.
Let Me Know Your Findings
If you try this method on some old beans, I’d love to hear your feedback. It won’t save everything, but the seeds that do still have viability in them are much more likely to germinate than in a traditional method.